![]()

SUPPORT: Tel 01702 684444
Support telephone hours are 10AM-5PM Monday to Friday.Out of hours: please leave a voicemail.
We try our best to cover everything in our manual,
but if you find something to do with support and
maintenance is not included, or not detailed enough,
why not write your own contribution? We would be very
grateful, helping us to achieve a comprehensive support
service, and other users would certainly benefit. To submit something simply email it to
support@wooshbikes.co.uk.
Click here to ask a question
Click here to download your bike manuals
Click here for our Sales Condtions
Click here for details of our 12-month warranty
How to bleed your zoom hydraulic disc brakes in 3 stepsYou will need:- a syringe - a star tip screwdriver - Shimano red mineral oil for brakes Often, a little air is collected inside the reservoir over time, causing the brakes to feel spongy. You only need to perform steps 1 and 2 to let the air out and close the top-up port. Purging the circuit is unnecessary. Procedures1) Open the top up port and screw the syringe into it, the syringe keeps the reservoir airtight.You can put about 5ml of red Shimano mineral oil for brakes in the syringe before hand if you wish.  2) Release the handlebars clamp, turn the handlebars to find a position such that the top up port is highest, at least higher than the reservoir. In this picture, I have to turn the handlebars practically 180 degrees. Flick the brake lever a few times to encourage any air bubbles near the top up port to come out of the circuit and escape through the syringe. Keep doing this until all the air is out. It's important that the top up port is as high as possible to let the air out. You don't want any air bubble trapped inside the reservoir before proceeding further.  3) Gently squeeze the brake lever while opening the bleed port just enough (about 2 turns) to let the air out. When the lever reaches the grip, stop. Close the bleed port then release the brake lever. New oil will be pulled from the syringe into the reservoir.  Repeat the last step - you will see the oil and air coming out of the bleed port, until only oil comes out of the bleed port. Make sure that the bleed port is properly closed. 4) Check that the brake lever now works properly before removing the syringe and close the top up port.  Zoom Xtech Hydraulic Brakes With Sensor (Latest submissions first) Please click on one of the links below:
| |
|
Where can I find out more? If there's anything else you'd like to ask, drop us a line. You can call us on 01702 435566, or send us an email using this webform. Please also read our sales conditions. | |
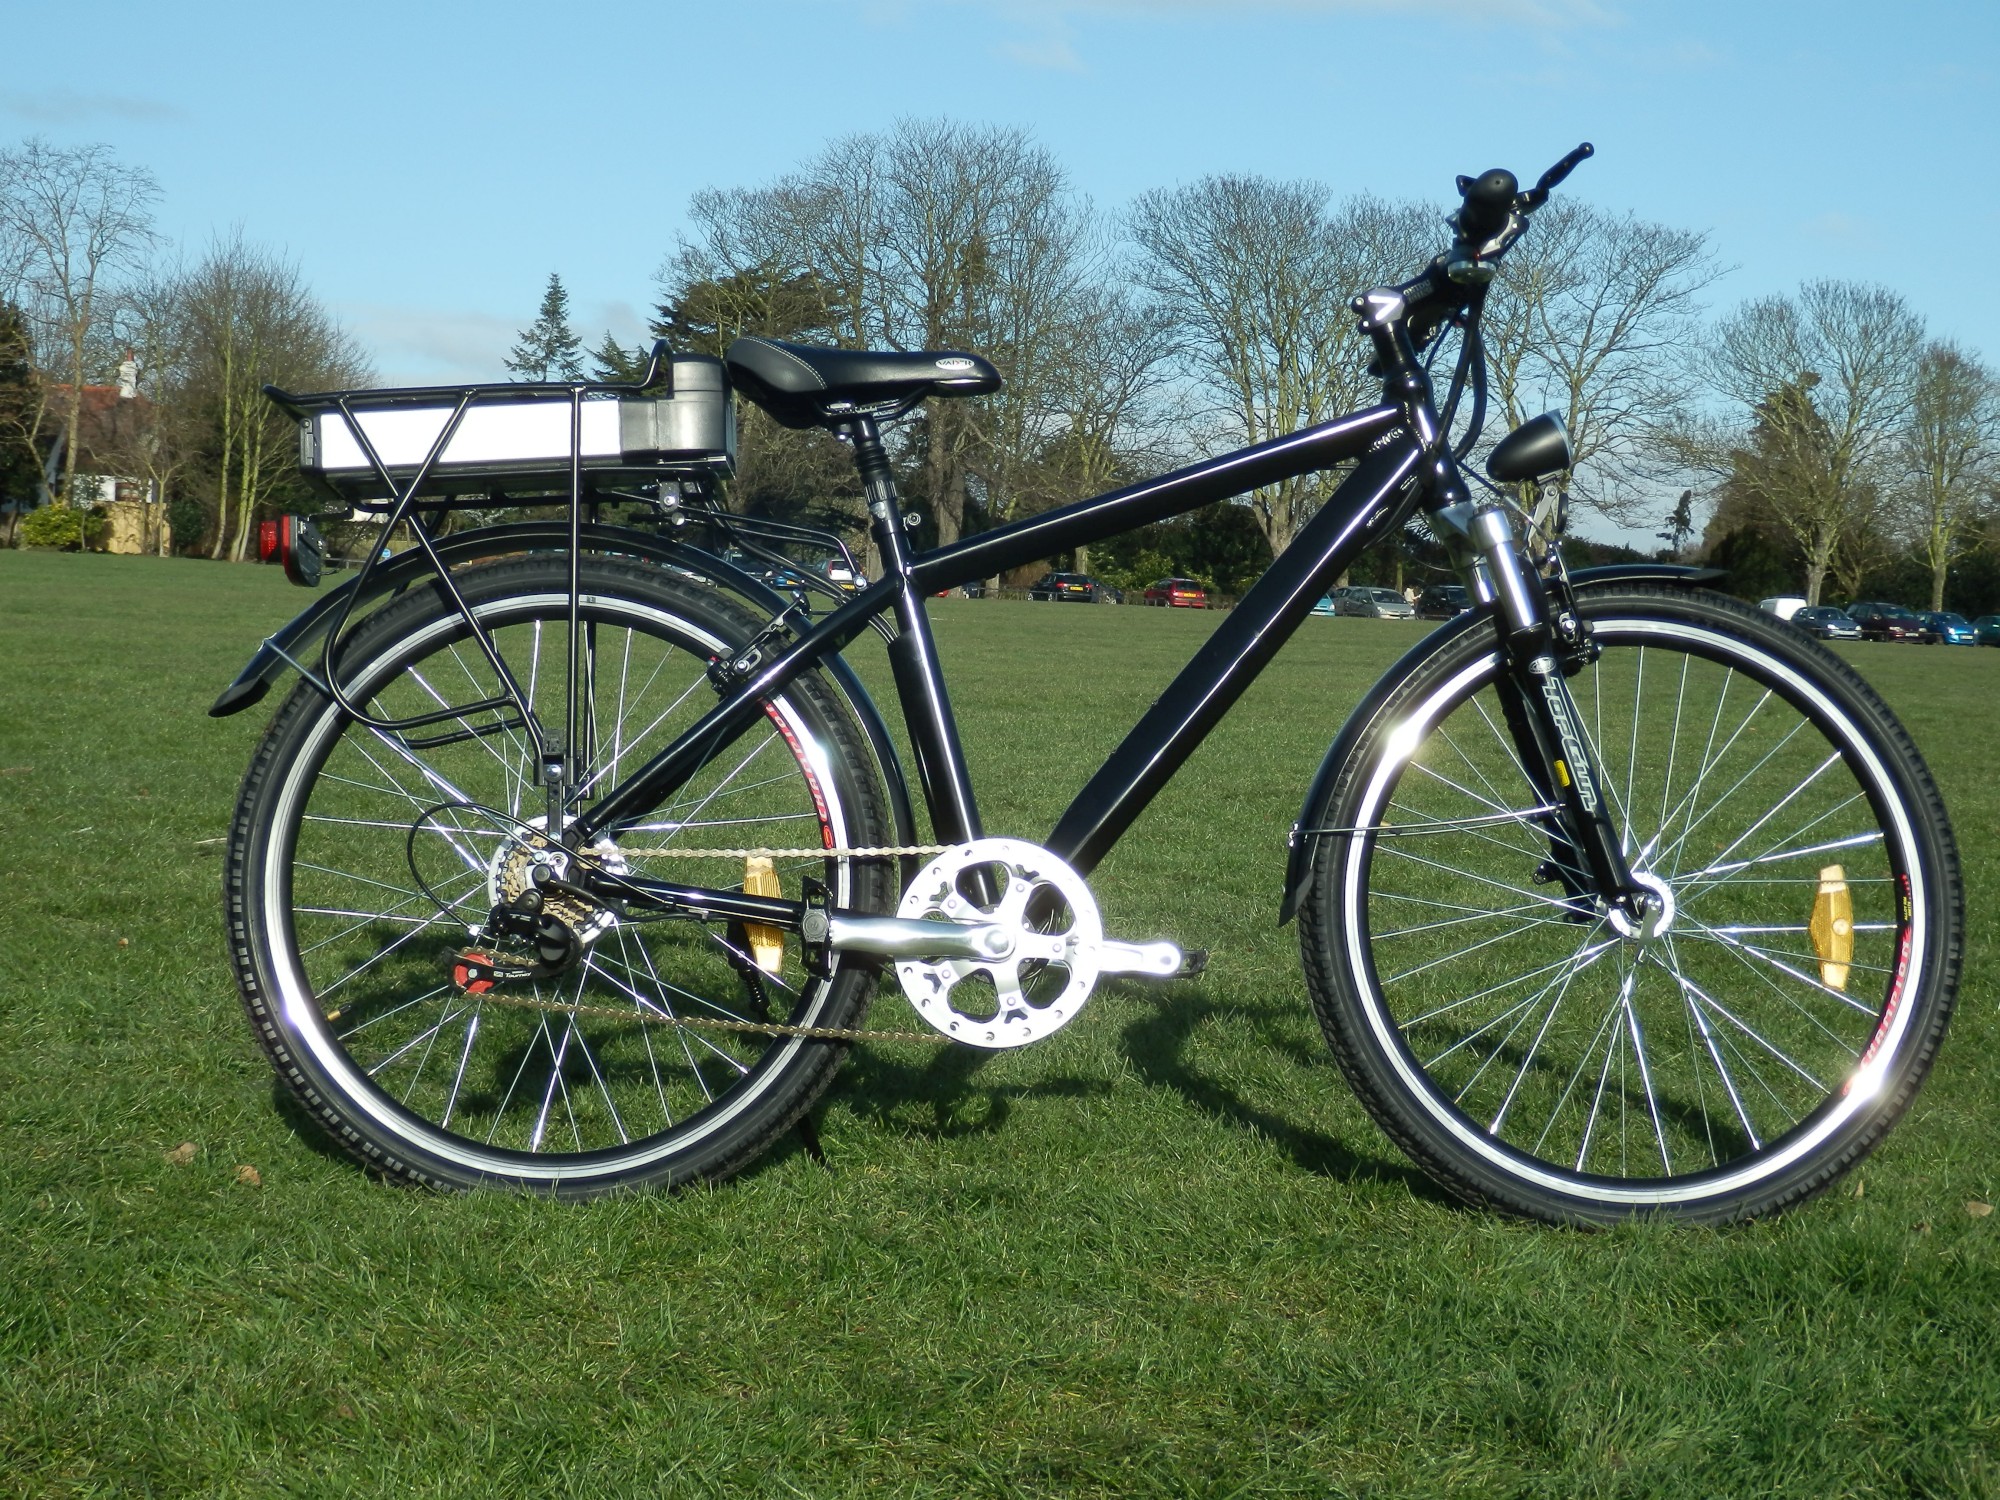
Prevention is better than cureWoosh bikes are designed to be rainproof but are not guaranteed to be 100% waterproof. There are various openings within the frame for cables/wiring etc. and so some care is necessary because of this. In general, try to do the following: 1. General tips/checks: i) When you are not riding your bike leave it under a shelter wherever possible. ii) If you have no shed or garage and cannot keep your bike indoors, invest in a waterproof cover and make sure it fully covers the bike. iii) If your rear rack houses your battery, covering it with waterproof panniers will not just help disguise it as an electric bike but will protect the battery against heavy downpours. iv). Always make sure that the connectors on the cables in front of the handlebars are fully seated and firmly attached. v). If your display meter mists up with condensation, this will normally clear if the bike is left in the sun for an hour or two. You should angle the LCD so that water will run off the face. vi. Do not ride the bike through deep puddles or fords. If riding in the rain, when you finish your journey, wipe down/clean your bike to remove dirt and water, dry the chain with a rag, and then lubricate the chain straight away. If you never ride your bike in the rain, you should lubricate the chain/derailleur etc. every two months or when the chain feels dry to the touch. 2. Keeping things tight. Some components/fixings may well work loose due to the additional stresses that an electric bike experiences, and therefore must be checked regularly and tightened if necessary. If you have any fixings that repeatedly work loose in a short period of time, you should apply a medium viscosity oil tolerant thread-lock (usually Blue in colour) to prevent this. Loctite and BondIt are two well-known brands for such products. Here are four areas that will need your frequent attention: i) Nuts, bolts, screws. Upon delivery, spend at least an hour going over the whole bike with a fine toothcomb and making sure that everything is correctly tightened. Repeat these checks every 200 miles. ii) Spokes You should have received a spoke key with your bike. This is a thick ring in metal of around 2 inches in diameter and with gauge markings all around its edge. You will normally find it inside the same small carton as the charger. Your spokes will have been correctly adjusted prior to delivery but you should check them regularly (every 200 miles). Checking and tightening only needs about 5 minutes, but if this is something you haven’t done before, it may be better to have your local bike shop do this for you a few times per year (or more often if you are a commuter). It is fairly easy to do, but if you do it wrong you can end up with a wheel that is pulled out of shape. Do NOT allow your spokes to work loose. iii) Handlebars, saddle, seat-post, pedals, cranks: You should make sure these items are kept tight at all times. If necessary buy a good quality set of tools to do so. Check the cranks and tighten as necessary. Check that the pedals are secure and that they rotate freely. Check all of the stem/handlebar fixings, it is critical that these are tight. Also check that the saddle is properly secured to the post and that the clamp is properly adjusted. iv) Chain, derailleur, bottom bracket: The chain and derailleur components should be lubricated every couple of months or when the chain feels dry to the touch. If you use the bike in the rain, you should dry the chain with a rag lubricate it when you finish your journey. The bottom bracket should be greased as needed to ensure dirt cannot penetrate. Also check that there is no play in the bottom bracket. 3. Battery Batteries last longer and perform better if they are used more frequently - So the golden rule is to ride a lot. You should never leave the battery unused for more than 2 months. If you are a leisure rider who only uses the bike during summer months, you must take extra care to ensure that your battery is charged for 15 minutes every few weeks while the bike is not in use. If you are leaving your bike at a holiday home for example and will not ride it until the following year you must make arrangements for someone else to do this for you. If you do not do this, your battery will deteriorate much more quickly and will need replacing sooner. Do not charge the battery in temperatures’ below 5 degrees C or above 55 degrees C. Do not submerge the battery in water, attempt to clean it with water or give to children to handle. Take extra care when handling the battery, do not to drop it or otherwise damage it. If your battery becomes difficult to slide off the rear carrier, remove it and grease the slide rails. 4. Cleaning the bike As mentioned above, it is essential to regularly clean your bike. Wipe down with a damp cloth, do not use a high pressure hose as water may get into areas where it can cause issues with the electrics. Ensure that the mechanical parts are regularly lubricated or greased as appropriate. | |